A Brief History of the Mural Project
How Did You Choose the Books?
- As part of the Larchmere Master Plan, several streetscape and public art projects were recommended. This is the second Larchmere mural; the first is installed on the wall at LifeSkills, 12201 Larchmere Boulevard.
- The Larchmere Mural Committee, composed of neighborhood residents and merchants, with the help of the Shaker Square Area Development Corporation (SHAD) and support from the St. Luke's Foundation, sought proposals for a mural celebrating literacy and community.
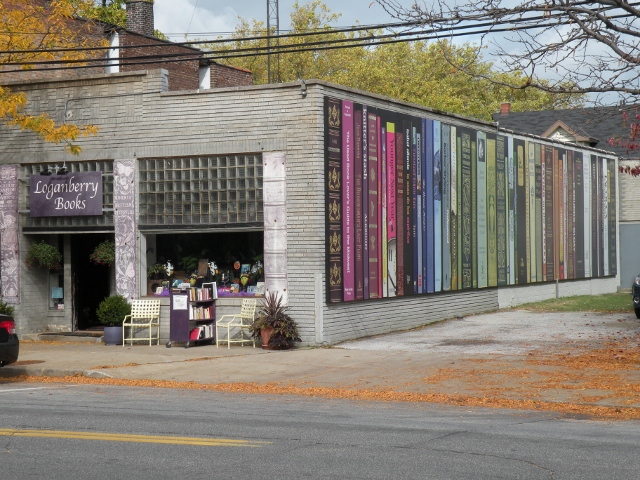
- The winning proposal, presented by artist Gene Epstein, is a giant bookshelf.
- Gene and the committee requested book title suggestions from neighborhood residents, workers, and school children.
- The committee chose from more than 150 suggestions a selection of books representing: children's literature, the Larchmere community, Larchmere businesses, and, Cleveland.
- The committee then requested and obtained permission from the publishers to include those books in the mural.
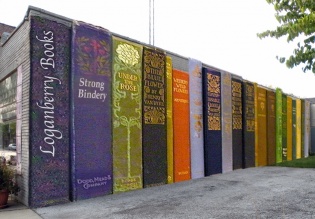
original rendering
How Was the Mural Made?
- Each of the book spines was photographed to print at the correct final size. Then all the photographs were organized according to color and texture so they would look good together on the wall.
- The computer files were brought to Morgan Litho, a banner printing company, which printed the 22 sections on 4.5 feet wide by 12 feet long banner cloth (vinyl-coated polyester), then coated the cloth with an ultra-violet protective varnish.
- Gene and her crew, artists Bill Hoose and Diane Petrauskas, prepared exterior-grade plywood to support the cloth. This entailed cutting the plywood to match the image widths and combining 8 foot and 4 foot lengths to reach the 12 foot height of the mural.
- The crew applied exterior grade contact cement to the back of the banners and the front of the plywood, and devised a method to exactly position them together and carefully work out the air bubbles. The fabric at the margins was then glued and wrapped around the edges to the back of the plywood.

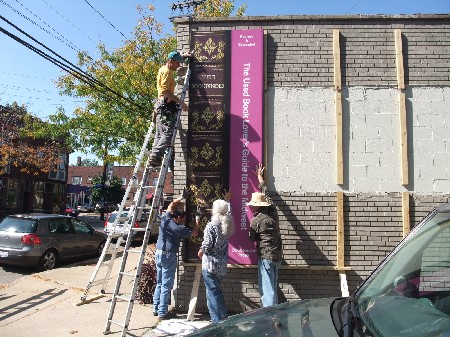
How Was the Mural Installed?
- Pressure-treated 2x4s were attached to the brick and concrete block wall vertically using special masonry screws, measured so that each 2x4 would lie between 2 panels.
- The panels were then secured to the 2x4s with deck screws and washers. Holes were cut in three of the panels to accommodate existing protrusions on the wall. The team of Gene, Bill and Diana was augmented in the installation phase with carpenter Eric Yeager and assistant Brian Dronzek.
When Was the Mural Dedicated?
- On Tuesday, November 1, 2011